 Sarasota Window
 Roof Repair Built for Ellenton's Weather, Not a Generic Checklist
A roof repair in Ellenton isn't the same job as a roof repair somewhere inland or up north. Homes here spend the year absorbing hard sun, salt-laden air off the Gulf, sudden downpours, and the occasional direct hit from a tropical system. Any one of those on its own is manageable. All of them, stacked year after year, is what actually wears a roof out early and turns small problems into leaks. This page is about one job, done right, in one area: repairing roofs for homeowners in and around Ellenton, in the greater Sarasota region.
We're not going to give you a generic "patch it and move on" pitch. A repair that isn't matched to the way roofs actually fail here in Florida ends up being a repeat visit — for us or for whoever comes after us. Below is what we look at, what a correct repair actually involves, and how to tell a solid repair job from a rushed one.
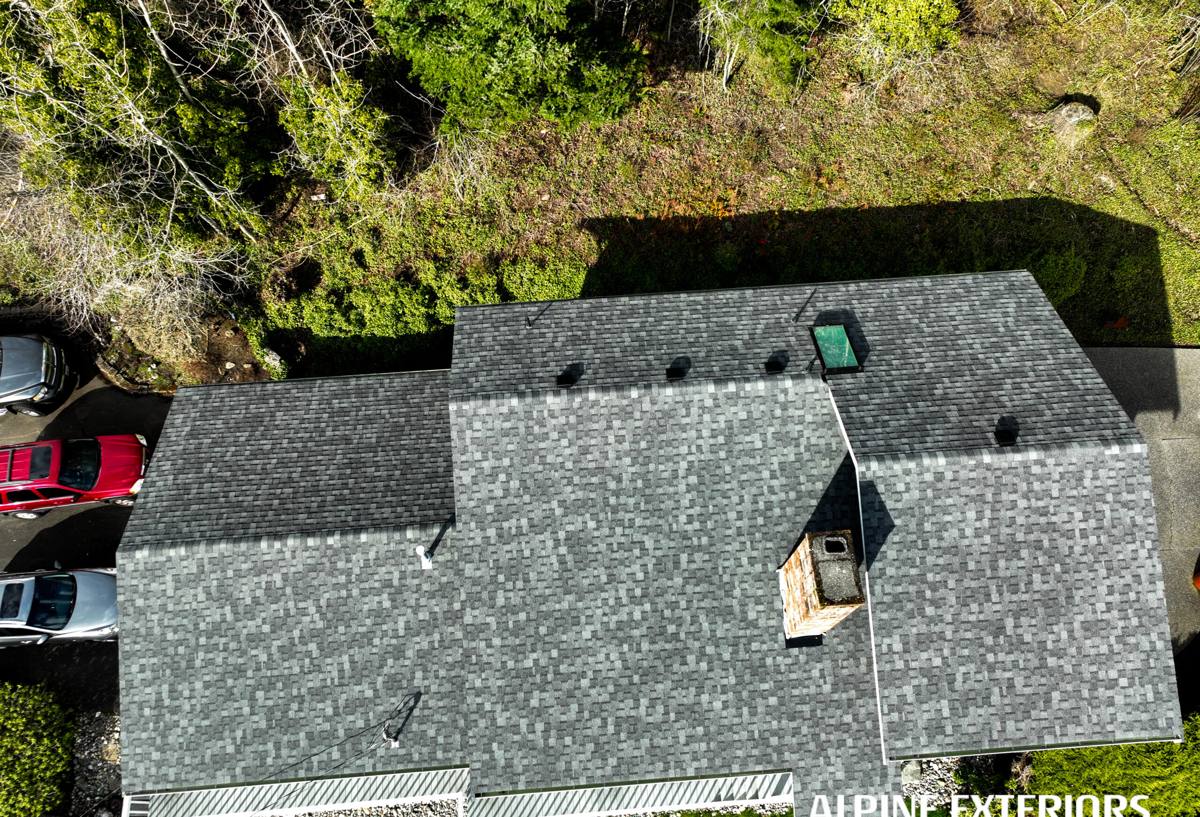
Why Ellenton Roofs Wear Differently Than Roofs Elsewhere
Every roofing material has a rated lifespan, but that number assumes average conditions. Ellenton doesn't get average conditions — it gets a combination of stressors that most manufacturers' warranty language doesn't fully account for.
Hurricane-force wind
Wind doesn't just tear roofs off in a storm's worst hour. Repeated exposure to sustained gusts, even below hurricane strength, works shingle tabs and tile fasteners loose over time. Uplift at the edges and corners of a roof is almost always where damage starts, and it's often invisible from the ground until a leak shows up inside.
Intense, year-round UV
Florida sun is stronger and more constant than what most roofing products were originally tested against decades ago. UV breaks down asphalt oils in shingles, causing them to become brittle and shed granules faster than the same product would age in a milder climate. Brittle shingles crack instead of flexing, which is exactly what you don't want during wind events.
Wind-driven rain
Water doesn't need a big opening to get in — wind-driven rain can push moisture sideways and upward under shingle tabs, around flashing, and into any gap that would stay dry in a normal vertical rainstorm. This is why some leaks only show up during specific wind directions and don't reproduce during a calm-weather hose test.
Salt air
Being close to the Gulf means metal components — flashing, fasteners, vent stacks, drip edge — corrode faster than inland installations. Corroded metal loses its seal integrity long before it looks obviously "rusted through," which is why we inspect metal flashing closely rather than assuming it's fine because the shingles above it look okay.
The Roof Problems We See Most Often in This Area
- Lifted or missing shingles at ridges, eaves, and rake edges — the areas most exposed to wind uplift.
- Cracked or curling shingles from UV breakdown, especially on south- and west-facing slopes.
- Flashing failures around chimneys, skylights, and roof-to-wall transitions, often from corrosion or original installation shortcuts.
- Failed pipe boot seals around plumbing vents — rubber boots degrade faster in high heat and UV than most other components.
- Granule loss and bald spots that expose the underlying mat to direct sun and moisture.
- Soffit and fascia damage from long-term moisture intrusion at the roof edge, sometimes the first visible sign of a leak that started elsewhere.
What a Correct Roof Repair Actually Involves
A repair that's done right isn't just "find the hole, cover the hole." It's a diagnostic process, because the spot where water shows up inside a house is frequently not where it's actually getting in — water travels along the deck and rafters before it drips.
1. Find the real source
We trace the leak path rather than patching the first suspicious spot we see. That means checking flashing, penetrations, and the surrounding shingle field, not just the ceiling stain's location.
2. Check the roof deck
If water has been getting in for a while, the plywood decking underneath may be softened or delaminated. Patching over damaged decking looks fine for a few months and then fails again — sometimes worse, because the new material is now sitting on a compromised base.
3. Match materials, not just color
Shingle repairs should use compatible material — same profile and weight where possible — so the patch performs the same as the surrounding roof under wind load, not just blends in visually.
4. Rebuild flashing properly
Flashing isn't caulk. A correct flashing repair re-establishes the layered, shingled water path (each piece overlapping the one below it) rather than relying on sealant to bridge a gap. Sealant has its place as a secondary defense, not the primary one.
5. Reseal and re-fasten to code
Fastener count and placement matter for wind resistance. A repair that reuses too few nails, or nails in the wrong pattern, may look complete but won't hold up the way the original installation was designed to.
Repair or Replace? How We Help You Decide
Not every damaged roof needs to be replaced, and not every roof that "still looks okay" is actually a good repair candidate. We walk homeowners through this honestly rather than defaulting to whichever option is more profitable for us.
| Factor | Repair Usually Makes Sense | Replacement Should Be Considered |
|---|---|---|
| Roof age | Well within expected service life for the material | At or beyond expected lifespan for the material |
| Extent of damage | Isolated to one area or a single cause | Spread across multiple slopes or recurring in different spots |
| Deck condition | Solid, dry decking under the damaged area | Soft, delaminated, or repeatedly wet decking |
| Granule loss | Localized wear, mat still intact | Widespread bald spots across multiple slopes |
| Repair history | First or second repair on the roof | Repeated repairs to the same or nearby areas |
When a roof is a genuine repair candidate, we'll say so and repair it — a smaller job now is better for everyone than talking a homeowner into work they don't need yet.
Our Repair Process, Start to Finish
- Inspection. We look at the whole roof, not just the reported problem area, including flashing, vents, and edges.
- Diagnosis and photos. You get a clear explanation of what's actually failing and why, in plain terms.
- Written estimate. Scope and cost factors are laid out before any work starts — no surprise add-ons mid-job.
- Repair. Deck check, material replacement, flashing rebuild, and fastening done to withstand the same wind and rain that caused the original damage.
- Cleanup and walkthrough. Debris and old material removed, and we show you what was done.
Materials and Sealants: What We Use and Why
For a coastal-influenced climate, product choice matters as much as workmanship. We favor components rated for high-UV, high-wind, and salt-air exposure rather than whatever is cheapest at the moment. That includes corrosion-resistant flashing and fasteners, and sealants formulated to stay flexible rather than harden and crack after a season or two of Florida sun. We're upfront when a cheaper repair material would save money short-term but create a maintenance headache within a year or two — that trade-off is your call to make, but we'll tell you honestly what it is before you decide, not after.
Homeowner Post-Storm Roof Checklist
After any significant wind or rain event, a quick check from the ground can catch problems early, before they turn into interior damage:
- Look for shingles that are missing, lifted, or visibly out of alignment with the surrounding field.
- Check gutters and the ground below the roofline for accumulated granules — a sign of accelerated shingle wear.
- Scan ceilings and the tops of interior walls for new staining, especially after wind-driven rain.
- Note any sagging or uneven spots along the roofline visible from the street.
- Check attic spaces (if safely accessible) for damp insulation or daylight showing through the deck.
- Don't climb onto the roof yourself to inspect it — call a professional if you see any of the above.
Why Working With a Crew That Already Knows Ellenton Matters
Roofing rules aren't identical everywhere in Florida. Wind mitigation standards, permitting requirements, and inspection expectations vary by jurisdiction, and they get enforced. A crew that regularly works in and around Ellenton already knows the local permitting process and what inspectors expect to see on a repair, which means fewer delays and no guessing on our end. It also means we've already seen how roofs in this specific area tend to fail — which flashing details cause repeat leaks, which slope orientations take the worst UV damage — instead of learning that on your roof for the first time.
Local experience also matters for insurance documentation. If a repair is related to storm damage, clear photos, a written scope, and an honest description of cause and extent make the claims conversation smoother. We document repairs the way an adjuster expects to see them, because we're used to that process in this region.
Maintenance and Timing Considerations
In this part of Florida, the most useful time to catch small roof problems is before hurricane season ramps up and again after any major storm passes through. A minor repair addressed early — a lifted shingle corner, a small flashing gap — is a fraction of the cost and disruption of the interior repairs, insulation replacement, and mold remediation that follow a leak left unaddressed for a season or two. Regular attention beats emergency response, both for your budget and for how long the rest of your roof lasts.
Get an Honest Look at Your Roof
If you're dealing with a leak, storm damage, or a roof that's just getting up there in age, we're happy to take a look and give you a straight answer — repair, monitor, or replace — without pressure either way. Use the form below to request a free estimate, and we'll walk your roof and talk you through exactly what we find.